Custom Event Creations

Friday, January 27, 2012

Baby Shower

My family & I headed back up to NJ last weekend to meet the newest member of our family...my nephew!  My kids were soooo excited to meet their new baby cousin.  So..with baby M (now that he has a first name we can call him baby M...he used to be baby P for their last name) on my mind I thought I'd share the pictures from the baby shower we had  for my sister back in November.  We held the shower at my aunt's home.  She has an awesome great room to accommodate everyone for the party.  I found lots of ideas on this amazing blog.  Maybe you can find some inspiration for the next party you are hosting.

***Warning***  There are lots & lots of pictures.  You know a picture is worth a thousand words!

I'll start with the desserts & candy bar which were set up in the dining room because you walk through that room to get to the great room.  I bought the lanterns at Party City.  I had grand ideas of making my own tissue paper pom-poms but ran out of time because I like to procrastinate like that.  But these were awesome & more "boy-ish" anyway than pom-poms would have been...don't ya think?  I made the garland out of scrapbook paper & ribbon.


I had a couple of the glass jars and purchased the rest from Home Goods & TJ Maxx. 


I made a sign for the candy bar out of scrapbook paper & printed a label using Microsoft word on my computer...nothing fancy...as I don't have any fancy label makers...yet ;)


I also made labels and attached them to plain white bags for guests to take their treats home in.  Got the idea for those labels here.  I decided to go with the colors from the invitation & mix in some classic toys rather than going with a "theme" shower.  And I was thrilled to find a shower with the same invitation as I had used.  I had already found the coordinating scrapbook paper at Michaels, so I used many of the ideas I found on this blog..


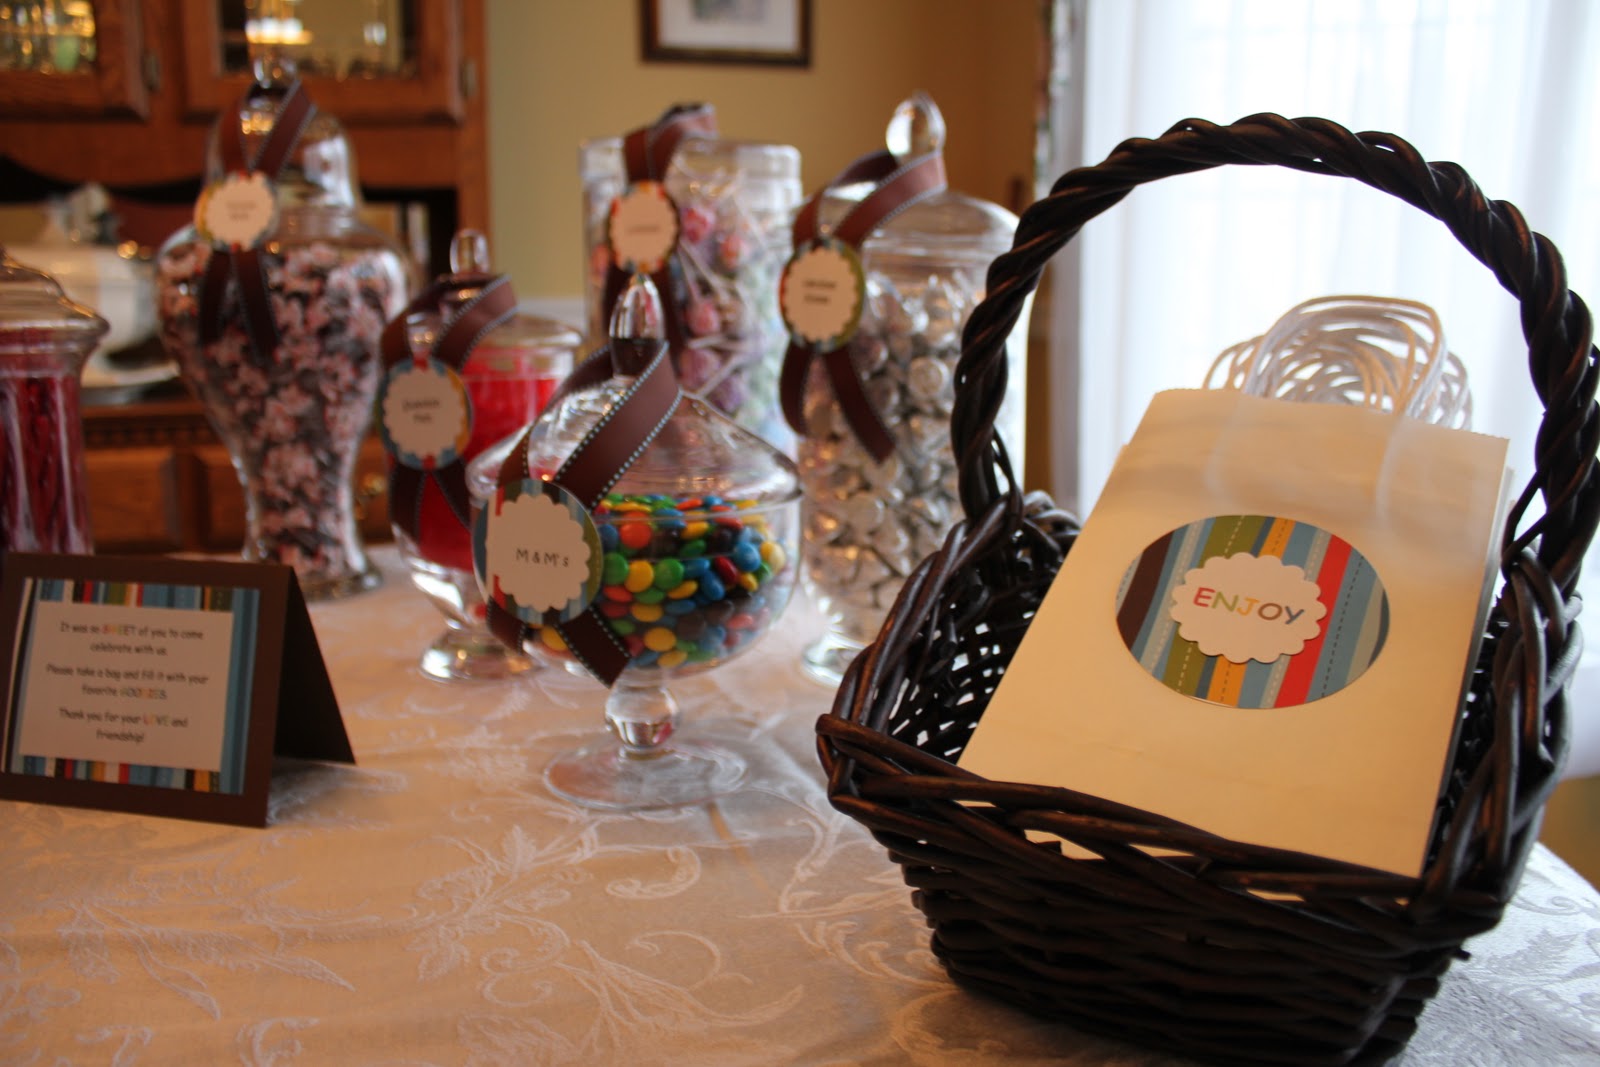
Those cute labels were used on each of the jars to identify what was in them.  Just in case you didn't realize those were M&M's...lol!


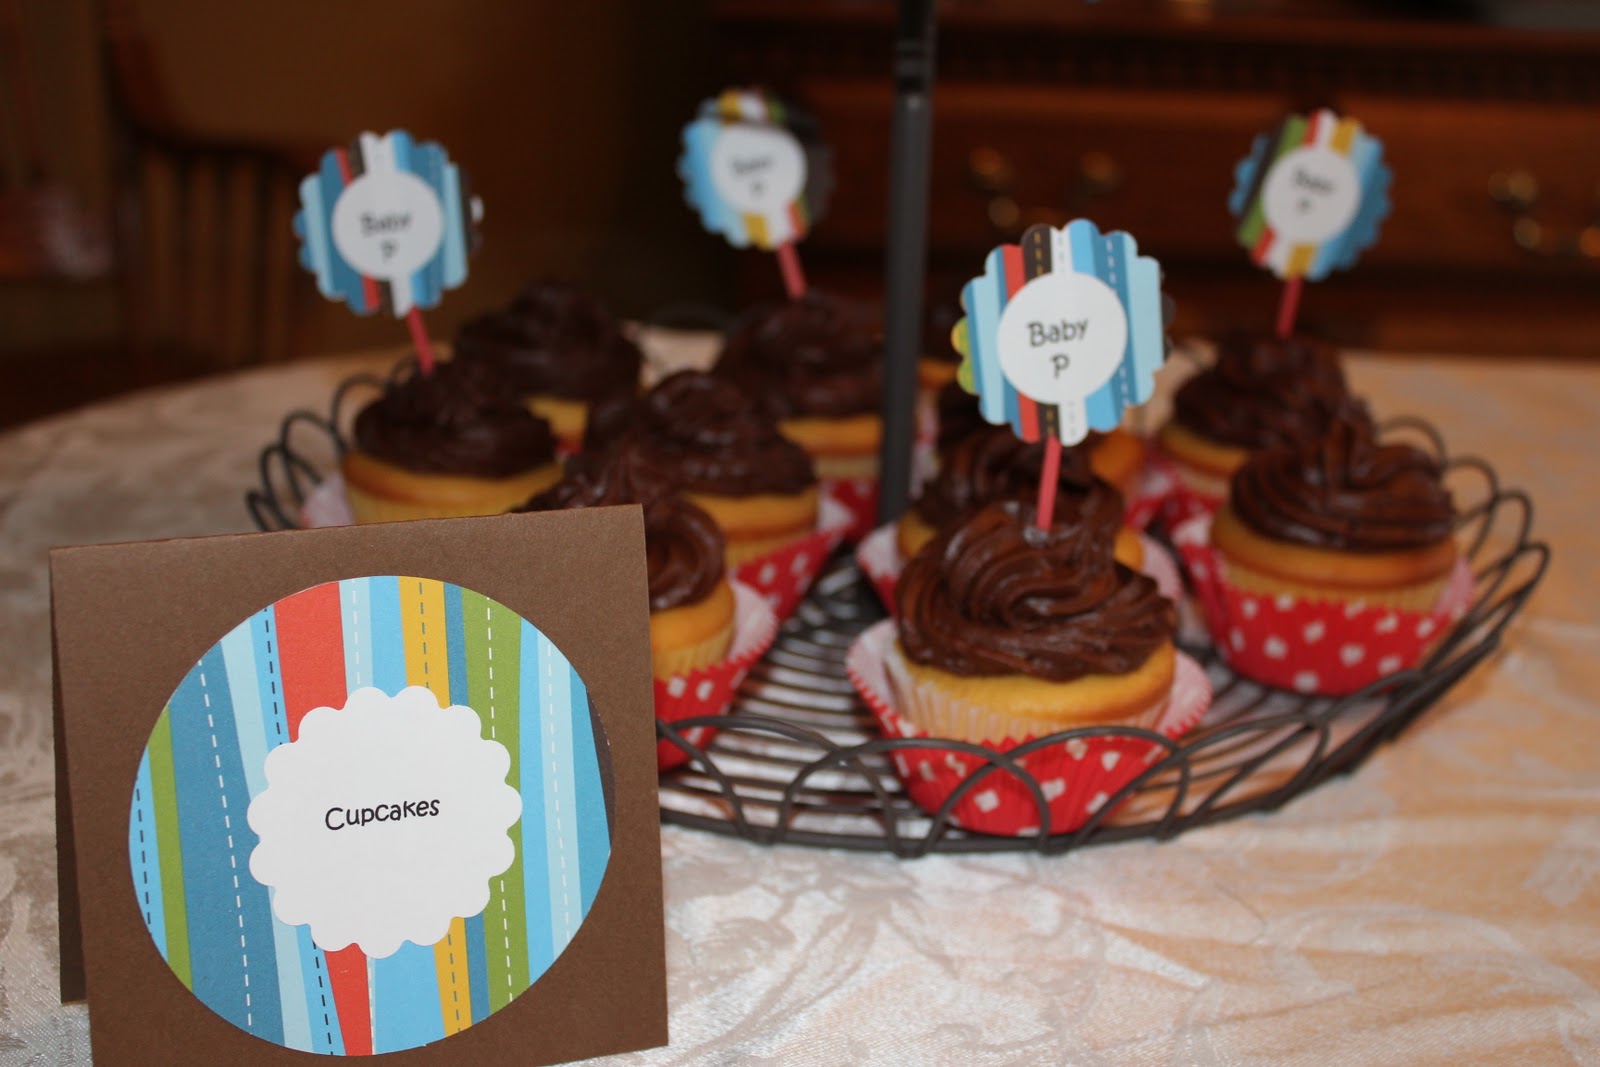
I made my own cupcakes.  They may not look perfect but they are my sister's favorite flavor! 


I asked that guests send me a baby picture of themselves prior to the shower to participate in this game.  It was fun trying to figure out who matched which baby picture.  I got that fabulous huge bulletin board in Home Goods.  You'll probably see it in a future post in my daughters room. 


I wanted to incorporate a plane as that is the theme of her nursery.  I had the most difficult time finding a plane then came across this little guy in the dollar section at Target.  So, I bought 2 of them.


We kept the drinks simple a few flavors of soda, water & I made white sangria...which was delicious!


The food table was set up over the pool table.  My cousin made bruschetta....yummy!!!


More yummy food pictures...loved the tomato & fresh mozzarella  kabobs.  My aunt made harvest chicken salad on croissants that was delish!!


Can't ignore the cute decor.  I made labels for all the food.  Those Dr. Seuss books were a gift from my kids to their new baby cousin.  They each wrote a note on the inside cover of the book they gave Baby P.


More adorable decorations.  I ordered the blocks from Amazon.  I got them as a gift for my oldest child & all 3 kids played with them.  They are great...mine are still in perfect condition.  Hope Baby P enjoys them just as much!  The sock monkey & little wagon are also from Amazon.


I found this awesome idea for a mad lib style advice card here.  Guests filled out the cards at the shower then I slipped them into a small scrapbook for my sister & her husband. 


Another great idea I found here.  A welcome sign for the front door.  I printed out the letters using microsoft word on my pc then bought some thin fabric and traced the letters onto the fabric.  I used thin sharpies to color in the letters to coordinate with the colors of the shower theme.  Hung it on a dowel I bought at Micheals with some ribbon. 


I couldn't have pulled it off without the help of my family.  Thanks girls!!


I had a great time planning this shower!  I hope you can find some inspiration for your next party.  There are tons of ideas out there!  A few of the guests actually asked me if I could plan a party for them.  Too bad they live 9 hours away from me.  But that got me thinking about how much I love planning, coordinating and executing these ideas...hmmmm could this be a new hobby or dare I say career path?!  I'll have to show you some of the things we did for my sister's bridal shower & wedding and let you decide. ;)

Wednesday, January 18, 2012

Kids Craft Space


Hey there!  I haven't posted in the past week as I was out of town.  I flew to my hometown to be with my sister when she had her baby.  My nephew was born a week ago.  I was so glad to be able to be there to experience this special time with my little sister.  I flew back home yesterday but my husband & I are making the drive back up there on Friday so he & the kiddos can meet the newest member of the family.  So...I've been a little busy.

But I wanted to post our kids craft space.  Thrifty Decor Chick is hosting monthly "show us your house party" and this month is craft/office spaces.

kids craft/homework space

I've struggled with this area of our house since we moved in 3 1/2 years ago.  There were only 3 bedrooms & a huge bonus room with 2 walk in closets (technically the 4th bedroom) when we bought this house.  There was also a fairly large loft area with a built in desk (a.k.a. laminate countertop with cheapo looking base).  Hey...but who's complaining the desk area was huge & I could paint the fake wood base (ummm...which still has yet to be done).  And I was so excited to finally have a craft area after years of looking at all the awesome craft tables & rooms in the Pottery Barn Kids catalogs.

Shelves from Home Goods & dollar buckets from Target


Okay back to the rooms...we had 3 kids...and coming from a smaller home the bonus room just seemed way too big to give one child as a room.  My boys (or I should say my oldest) weren't feeling sharing a room.   So....we hired a contractor to put up a wall in the open loft area to make a bedroom for our oldest son.  However, his room turned out much smaller than we envisioned (10 x 11) and the kids craft area lost the only window & became very dark.

New wall = Dark

My boys actually shared the bonus room this past summer.  We moved their furniture in & they enjoyed living together for a while.  I think they enjoyed having the tv & xbox in their room more than sharing the room.  But once school started up again it was difficult for them to share.  They go to different schools so they have different times they have to be up in the morning.  And since there is 4 years between them they have different bedtimes.  So...back into their original rooms they went.  But as our 14 year old gets bigger & taller (yikes that boy has grown 5 inches in a year) his room seems to get smaller.

Bonus room when boys were sharing room as their bedroom

As for the kids craft/homework space.  Although I had such high hopes for this area.  It never gets used...I mean NEVER.  My youngest two do homework in the kitchen....my oldest does his in his bedroom.  As for the crafts as much as I'd like them to be crafty they aren't.  And if any crafting is going on it's in the kitchen. So this area outside their bedrooms is such a waste of space and I hate wasted spaces.  Don't even get me started about our dining room & "formal" living rooms.  I'll save that for another post. :)

These were done a year ago...yes that was the last time we painted

So...what to do???

We have considered lots of different options...

1.  I could use the area for office/scrapbooking/crafting.  But I know I won't because it's toooo dark.  I need lots of natural light.  Too depressing without a window.  Plus, we have an empty sitting area in our bedroom with lots of great light I'm planning to use for an office area for me.

2.  We can remove the desk & put in bookcases to create a reading nook.  All 3 of my kids LOVE to read. But still no natural light.

3.  We can take down the wall.  Create a lounge, tv viewing, xbox playing, reading hangout area for the boys in the open loft area.  Move my 14 year old into his sisters room (much bigger than his but would require paint as it's pink now...lol)  And move our 7 year old girl into the huge bonus room.  Our daughter has the most "stuff"...as in dolls, barbies, strollers, kitchens.  She also dances & does gymnastics. So we could keep all her toys in what would be her bedroom.  Thought of giving "big room" to the oldest but even he says he just doesn't have a lot of stuff so it would be a waste (smart boy).

The down side to option #3 is losing the playroom/bonus space as it would become one of the kids bedrooms.  And the tearing down the wall that we paid to have put up...that would stink!  And there's no going back again.  And would we want to create a game/teenage space for kids as they get older?  Decisions...decisions....


 Soooo....any ideas out there?  I'd love to hear any comments or suggestions!


I've linked my post here on the Thrifty Decor Chick blog.

Wednesday, January 11, 2012

Baby P

My sister and I are 14 years apart.  But it's funny now that she is an adult our age difference doesn't seem to matter all that much.  Our mom died when my sister was only 8 years old so we've had a different relationship than typical sisters.  

Unfortunately, for me she's done a lot in the three and a half years since we moved 9 hours away from her.  She got married, bought her first house & is now expecting her first child.  I miss living close to her especially now that she will become a mom.  

I leave tomorrow morning to be there when she becomes a mother.  She's scheduled to be induced Thursday.  I can't wait to meet my nephew & be there to support my baby sister as she enters the most rewarding phase of her life.


 I took some pictures of my sister & her husband when I was there for the holiday's.  These are some of my favorite shots along with favorite quotes I used for a slide show I made for her baby shower back in November. 

I'll share pictures & details of the shower in a post soon!


 No one else will ever know the strength of my love for you
After all YOU are the only one who knows 
what my heart sounds like from the inside.


Making the decision to have a baby is momentous. 
It is to decide forever to have your heart go 
walking around the outside of your body.


Sometimes the smallest things take up the most room in your heart.


Sunday, January 8, 2012

Master Bedroom Furniture Make Over

I blogged about our master bedroom makeover here.  Way...way...way back then I said I'd post exactly how I refinished our bedroom furniture. As you know if you are reading my blog now I failed to continue posting regularly.  But I'm back!

We bought our furniture about 15 years ago.  It's made of pine by Broyhill so it's decent furniture...but it had an orange colored stain on it....yuck!  We really didn't want to spend the money on new.  We are cheap like that..hate to spend money on furniture would much rather take the kids to Disney. :)

Here are the before & after pictures...
before

after
It was a lot of work but the finished product was so worth it!  Here are some more pictures of the before pieces I refinished.   As you can see the lovely orange finish.  And lots of knots because of the pine wood.


 First I gave all the pieces a good cleaning.  Good thing I did that first...can you see the layer of dust on my dresser...gross!!!  Then I primed all the furniture using Zinnser cover stain.  I used a foam roller & 2 inch angled brush to apply the primer.  I also added Penetrol to the primer.  I did not want to have to sand all that furniture so I found that if I used this primer I could skip that labor intensive step.


I applied two coats of primer and lightly sanded between each coat. 

I decided to use an oil based paint for it's durability.  I didn't take a picture of that paint can & of course there is paint all over the outside of the can so I can't read it...sorry!  But I got it at Ace Hardware.  It's an oil based paint in black.  Bought it right off the shelf.  When I explained what I was doing to the nice people at Ace this is that paint they recommended.  I have to say it wasn't the easiest to work with.  Oil paint is messy.  But I wanted a durable finish without having to put a glossy sealer on it.  I'm not particularly fond of high sheen furniture.  I did two coats of black paint on all the furniture.  I also added the Penetrol to the black paint.


I also decided to refinish the hardware or "wood knobs".  After pricing new hardware I decided it wasn't very "Cents-able".  So I found spray paint that was suppose to resemble metal.  I gave each knob a nice coat of primer then sprayed them with Rustoleum Hammered. 


This is how the spray painted wood knobs look back on the painted furniture.


There you have it...how I refinished our furniture.  I won't lie to you...it took lots of time.  The painting was time consuming...all those drawers.  And I had to wait at least overnight between each coat of primer & each coat of paint.  Oil paint takes a LONG time to dry.  I may try latex paint on my next project.  But honestly we couldn't be happier with the results.  And just because I love before & after pictures here they are again.
before
after

I'll post the "how-to" on the wall treatment this week...I promise!  Hope you come back & take a look at that!!
Enjoy the rest of your weekend.


I've linked up to: