 |
| before |
 |
| after |
So...here it is FINALLY! After lots & lots of research I decided that I loved the look of crisp white board & batten wall treatments.
I used several blogs for inspiration:
It's the little things that make a house a home
The Yellow Cape Cod
The Nester
I enlisted my husband to help me with this one. It was a big project as our bedroom is a good size with an attached sitting room. We took lots of measurements. With our notes in hand off to the store we went. We wanted to keep the costs down and had read that home improvement stores will "rip" the plywood down for you into boards to save us a major step in the process. Unfortunately, our local Lowes was not able to rip the plywood down for us. :(
But I was not about to give up so we went a little farther down the highway to Home Depot. We found a willing employee to help our
As the very kind man in Home Depot continued to cut & stack our boards my dear husband began frantically rechecking our calculations. Then told him to stop cutting as we had enough boards to cut. Apparently, we were really "off" on our measurements and had lots of left over wood.
No problem after seeing our completed room our neighbors were inspired to do the same wall treatment in their laundry room and they had all the wood they needed sitting in our garagae...ha ha ha!


We painted the top 1/4 of the walls & the ceiling Benjamin Moore Coventry Gray.


Before we starting hanging the boards in the room. I sanded & primed all the boards in my garage. Since we were being

There wasn't much exact measuring involved here. We were

We used 1/2 inch thick plywood on vertical boards and precut 3/4 inch boards for the horizontal pieces. We used our nail gun & liquid nails to attach all the boards to the walls.

Not all the boards lined up perfectly...

..but a little wood putty & caulk will help with that!

Once all the boards were up. I was ready to paint and get it done! But my husband insisted that we caulk all the seams. What!?! I asked on both sides of each & every board??? Yup...that's exactly what he meant. I wanted to just be done at that point but he was right!!! It made it look so much more finished with the caulking.

Once all the boards were up & caulked I painted with a white semi gloss paint. And again the final results. LOVE it! It was a lot of work but it brightened the room and gave it a lot of character.
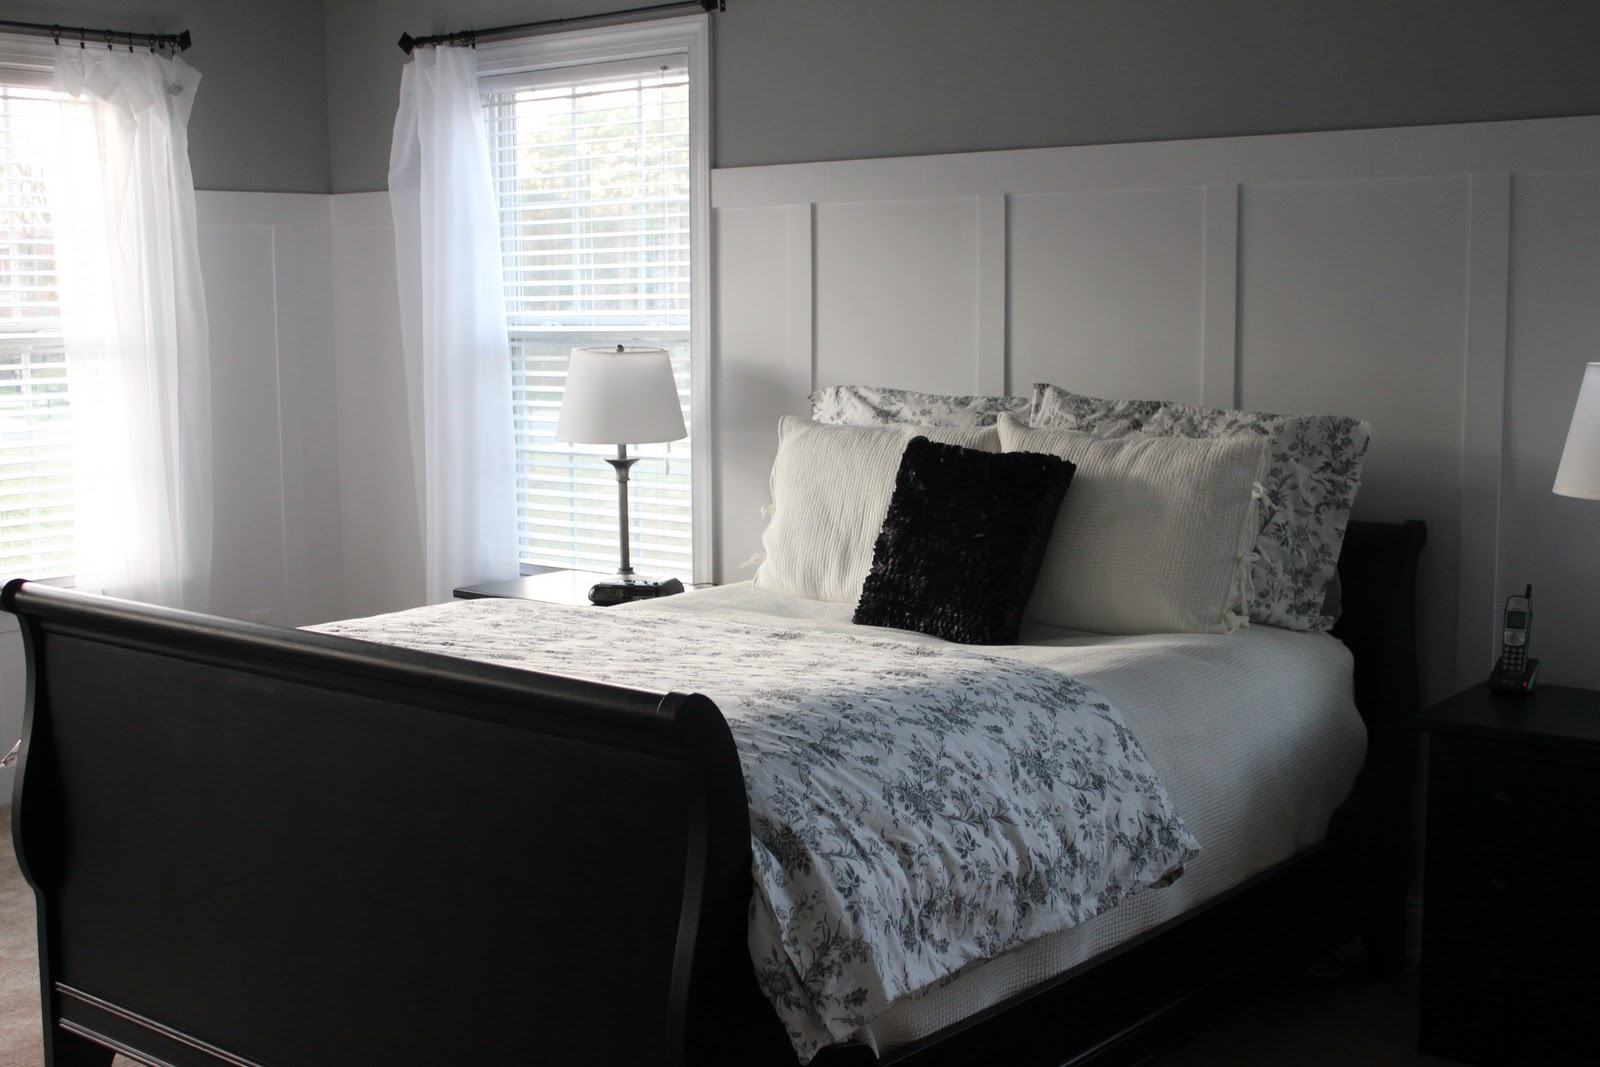
Between painting the furniture black & adding the board & batten it feels like a different space!
Love the look - how much would you say the final cost was?
ReplyDeleteAre your battens 3 inches wide and the board 4 inches wide?
ReplyDelete